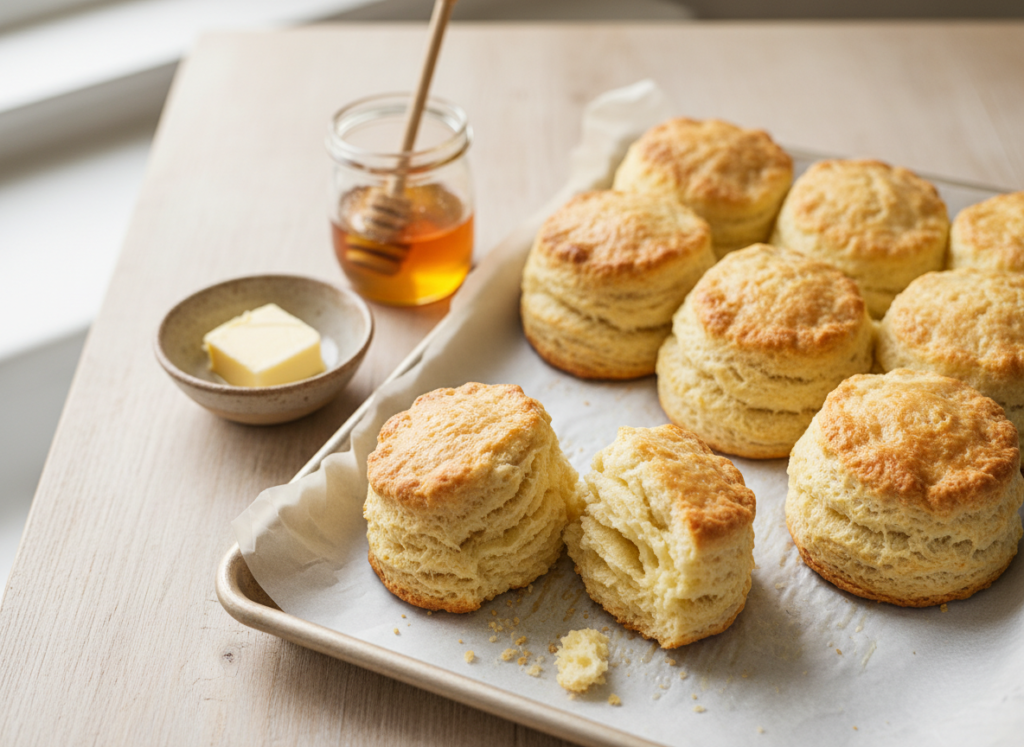
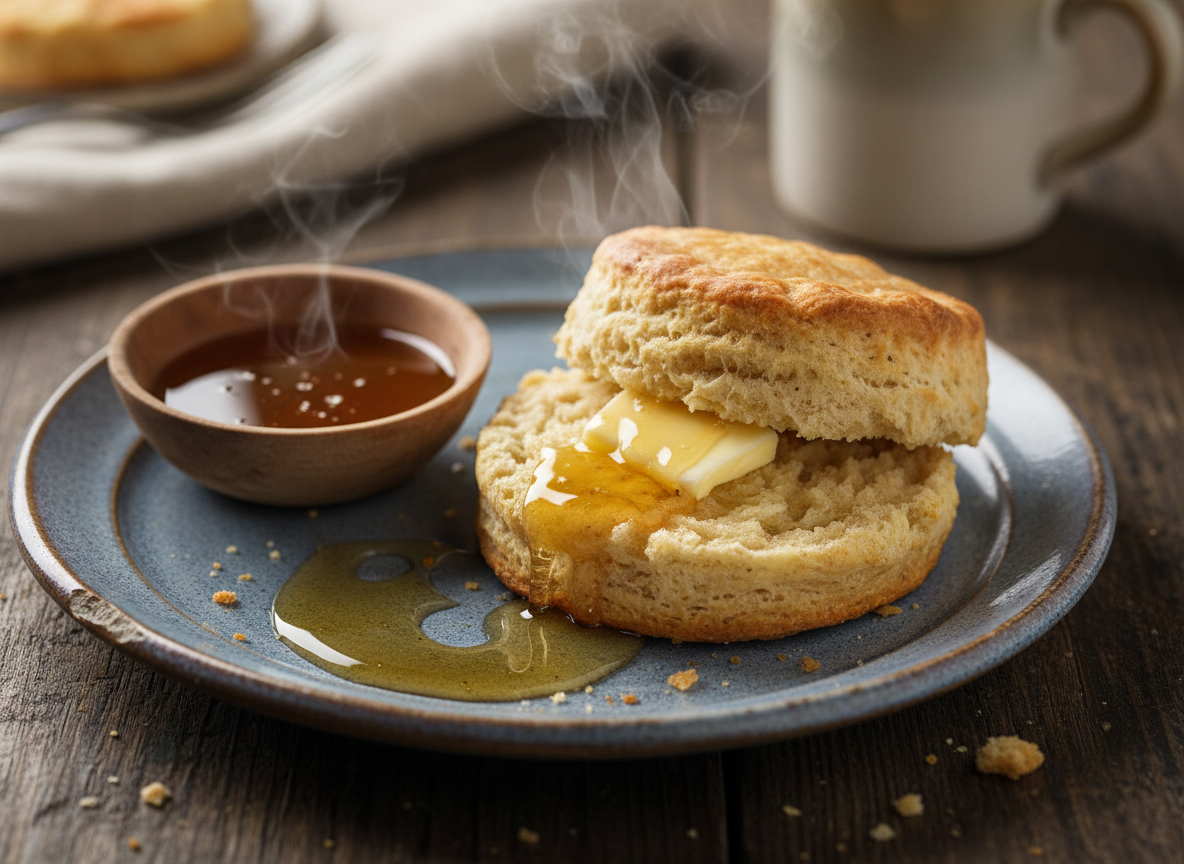
Flaky buttermilk biscuits should rise tall and peel apart in soft, buttery sheets, yet plenty of batches come out squat, dense or lopsided. The cause is almost never the recipe itself: it’s warm butter, overworked dough or a twisted cutter. Below is a complete from-scratch recipe built around a simple fold-and-chill method, plus a troubleshooting table so you can see exactly why your last batch didn’t rise and how to fix it before the holiday breakfast rush.
At a Glance
- Time: 20 min prep, 15 min chill, 12-15 min bake (about 50 min total)
- Yield: 8 tall 2½-inch biscuits
- Difficulty: Easy, with one technique to get right
- Oven: 450°F (230°C), upper-middle rack
- The one thing that makes it work: pea-sized pieces of cold butter, folded into the dough three times and chilled again before baking
Recipe
Prep: 20 minutes · Chill: 15 minutes · Bake: 12-15 minutes · Total: about 50 minutes · Makes: 8 biscuits (2½-inch)
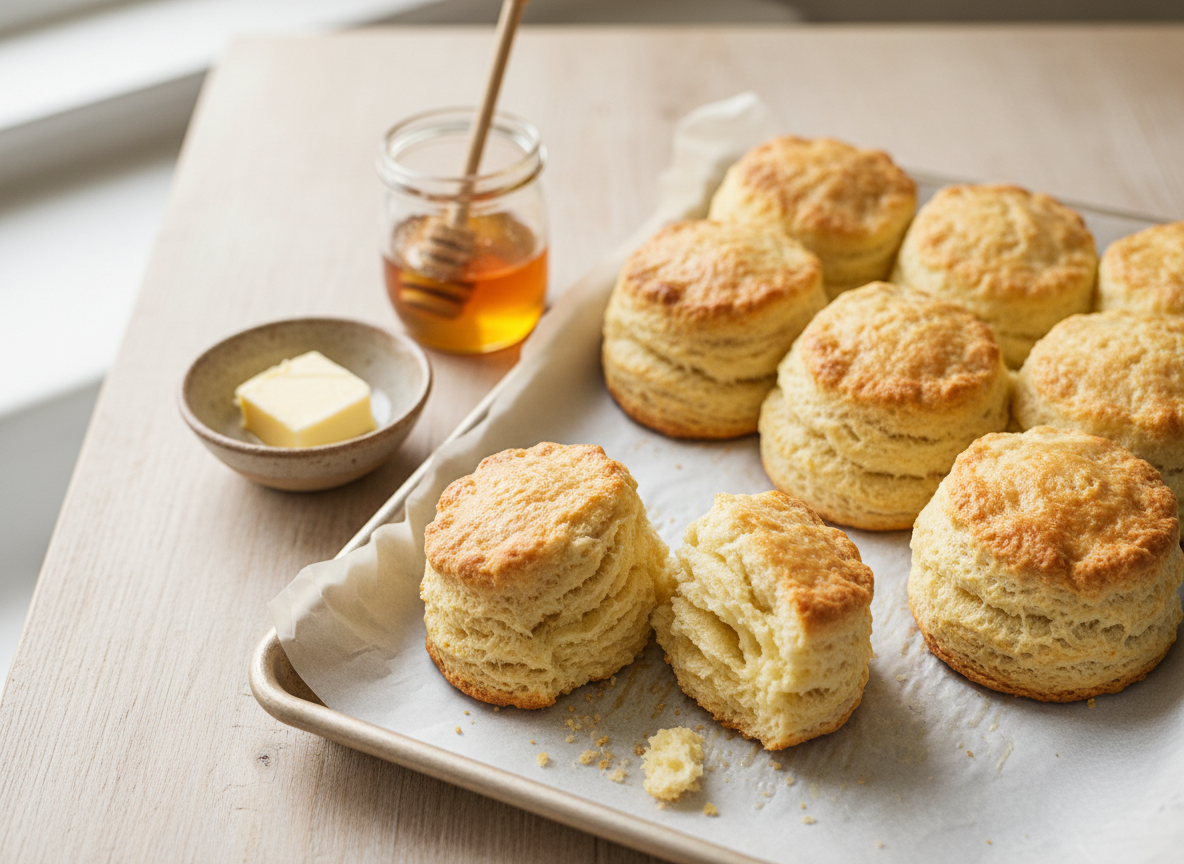
Flaky Buttermilk Biscuits
Ingredients
Method
- Heat the oven. Set a rack in the upper-middle position and heat the oven to 450°F (230°C). Line a rimmed baking sheet with parchment paper.
- Mix the dry ingredients. In a large bowl, whisk the flour, baking powder, sugar and salt until evenly combined.
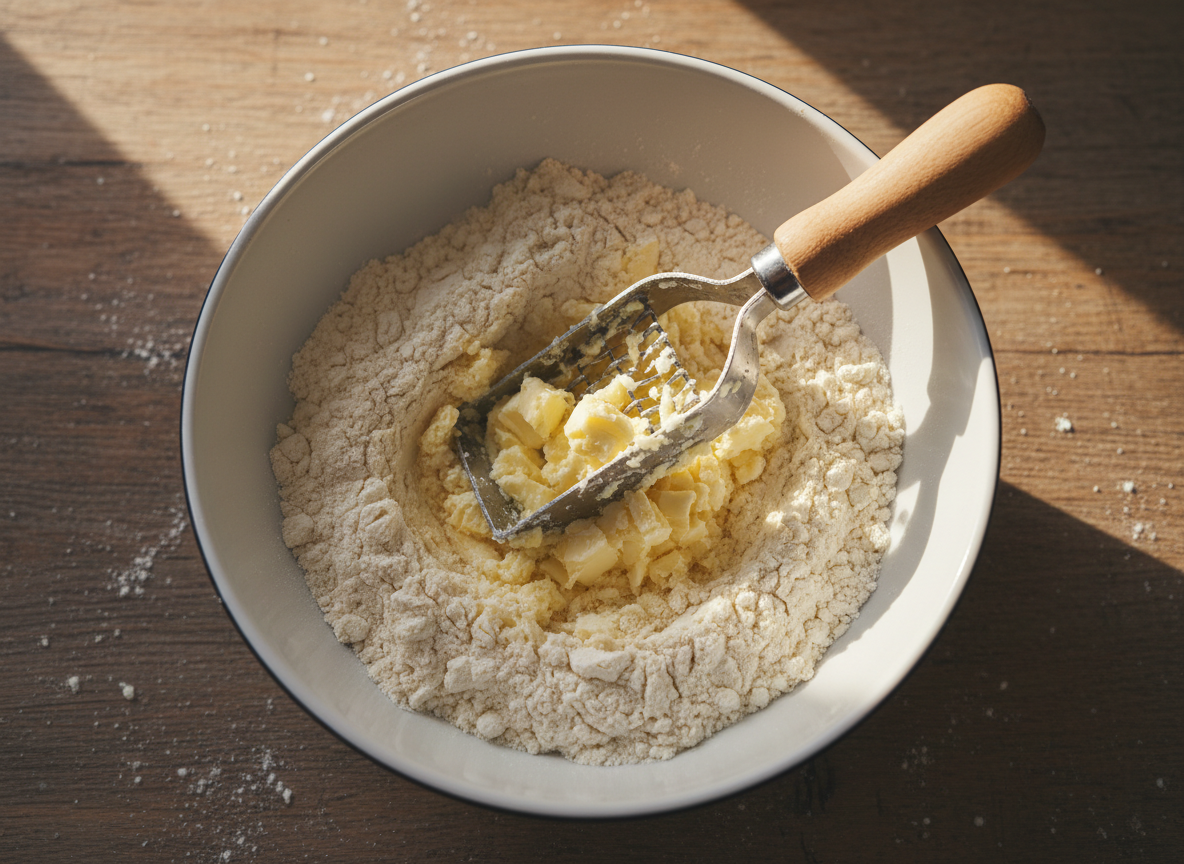
- Cut in the butter. Add the cold butter cubes and work them in with a pastry blender or your fingertips for about 2 minutes, until the mix looks like coarse crumbs with plenty of pea-sized butter pieces left. If the butter starts to feel soft or greasy, put the bowl in the fridge for 10 minutes.
- Add the buttermilk. Make a well, pour in ¾ cup cold buttermilk and stir with a fork just until a shaggy dough forms and no dry flour is left at the bottom of the bowl. If dry patches remain, add buttermilk 1 tablespoon at a time. The dough should look rough, not smooth.
- Fold for layers. Turn the dough onto a lightly floured counter and pat it into a rectangle about 6 x 8 inches and ¾ inch thick. Fold it in thirds like a letter, turn it 90 degrees and pat it out again. Repeat for 3 folds in total; the dough will turn more cohesive and show streaks of butter.
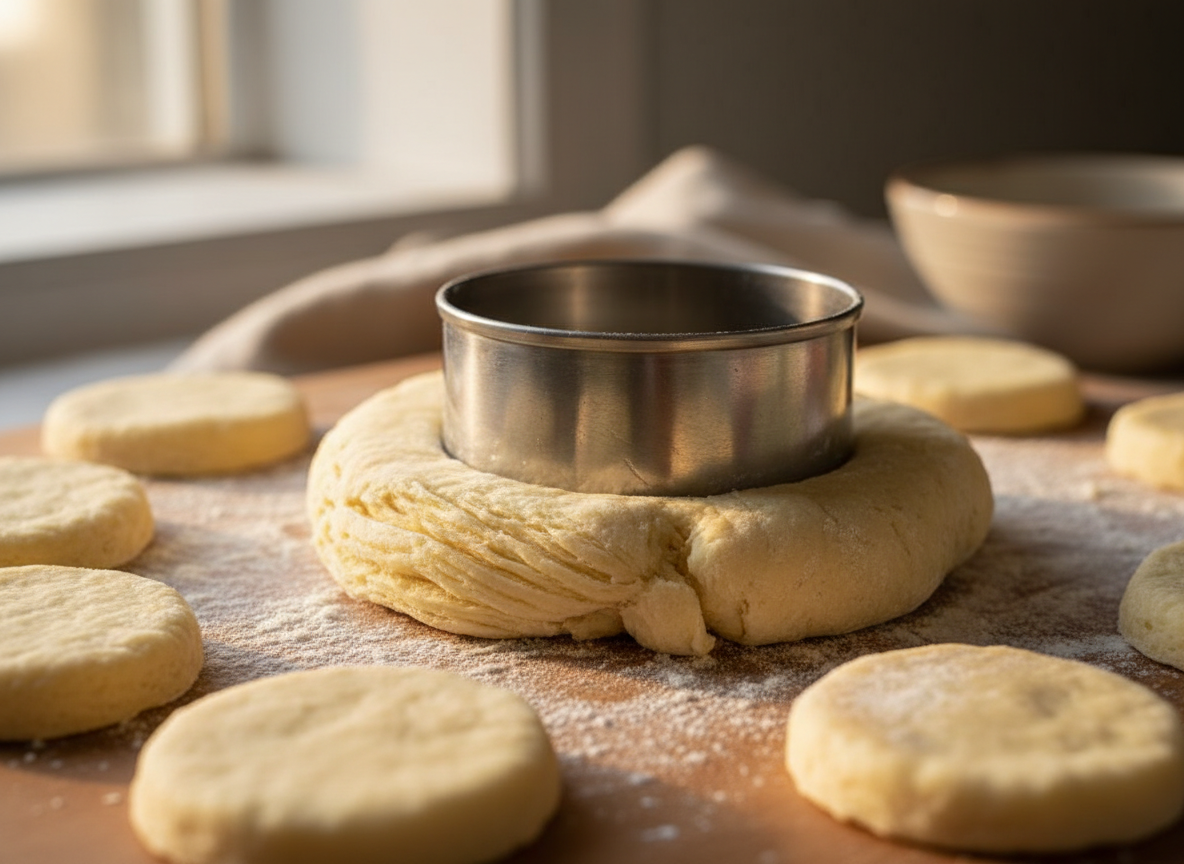
- Cut the biscuits. Pat the dough to an even ¾-inch thickness. Dip a 2½-inch biscuit cutter in flour and press straight down without twisting. Gently press the scraps together once and cut again (these rise a little less).
- Arrange and chill. Place the biscuits on the sheet with sides just touching for taller, softer sides, or 1 inch apart for crisper edges. Refrigerate for 15 minutes, until the butter feels firm again.
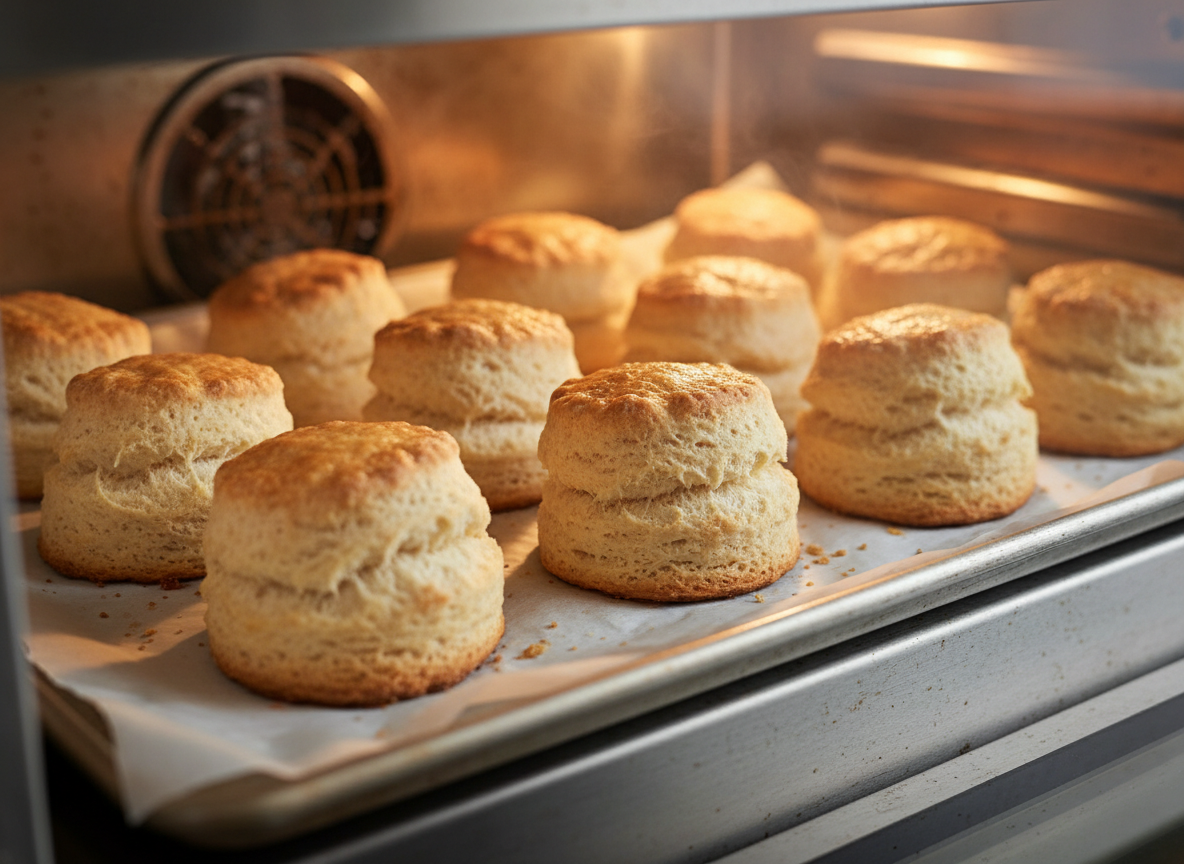
- Bake. Brush the tops with buttermilk or melted butter. Bake for 12-15 minutes, turning the pan halfway, until the biscuits are tall and deep golden on top, the bottoms are browned and the layers on the sides look dry rather than doughy.
- Rest and serve. Let them cool on the pan for 5 minutes, then serve warm.
✓ Kitchen-tested · Nicole cooked this recipe in our kitchen on September 30, 2026. What this means
Why Flaky Buttermilk Biscuits Rise in Layers
Flakiness is mostly physics. Solid pieces of butter sit between thin sheets of dough, and in a hot oven the water in that butter turns to steam and pushes the sheets apart. Four choices in this recipe protect that process.
- Cold, visible butter. Pea-sized pieces stay solid until the oven, so they melt and release steam there instead of on the counter.
- Three letter folds. Each fold stacks the butter and dough into more layers, the same idea as a quick laminated pastry.
- Buttermilk plus baking powder. The acidic buttermilk keeps the crumb tender, and a full tablespoon of baking powder gives a strong, even lift.
- A very hot oven. At 450°F the outside sets fast while the inside is still puffing, so the biscuits climb instead of spreading.
Why Your Biscuits Don’t Rise in Layers
If your last batch came out flat, dense or tough, match what you saw to the table below. Most problems trace back to temperature or handling, not to a missing ingredient.
| Problem | Likely cause | Fix |
|---|---|---|
| Flat, spread-out biscuits | Butter melted into the flour before baking | Use butter straight from the fridge and chill the cut biscuits 15 minutes |
| No visible layers | Dough mixed smooth or kneaded; no folds | Stop stirring at a shaggy dough and do 3 letter folds |
| Lopsided or sealed edges | Twisting the cutter or using a dull glass | Press a sharp, floured cutter straight down and lift |
| Tough, chewy texture | Too much handling or too much flour on the counter | Pat, don’t roll hard; dust lightly and brush off excess flour |
| Pale tops, doughy middle | Oven not hot enough or rack too low | Fully preheat to 450°F and bake on the upper-middle rack |
| Short rise, bitter taste | Old or mismeasured baking powder | Use fresh baking powder and level the tablespoon |
The difference between a flat biscuit and a tall, layered one usually comes down to how cold the butter stays before it reaches the oven.
Ingredient Notes
- Flour: regular all-purpose flour gives a tender but sturdy biscuit. Spoon it into the cup and level it; scooping straight from the bag can add 20-30 extra grams and make the dough dry.
- Butter: unsalted lets you control the salt. Cube it, then return the cubes to the fridge while you measure everything else.
- Buttermilk: full-fat or low-fat both work. Shake the carton well, since the thick part settles at the bottom.
- Baking powder: check the date. An opened can loses strength after several months, and weak powder is a quiet cause of short biscuits.
Cold-butter checklist before the biscuits go in:
- Butter pieces are still visible and feel firm when pressed.
- The dough feels cool, not tacky or greasy.
- The cut biscuits have chilled for at least 15 minutes.
- The oven has reached 450°F, not just started heating.
Substitutions That Work (and Don’t)
| Swap | Result |
|---|---|
| ¾ cup milk + 2¼ tsp lemon juice or vinegar, rested 5-10 minutes | Works well; slightly less tangy |
| ½ cup plain yogurt + ¼ cup milk | Works; tender and tangy |
| Salted butter | Works; cut the salt to ½ teaspoon |
| 2 cups self-rising flour | Works; leave out the baking powder and salt |
| Up to ½ cup whole wheat flour | Works; nuttier, a little denser and shorter |
| Melted butter or oil | Doesn’t work; no solid fat means no flaky layers |
Variations to Try
- Cheddar and chive: toss ¾ cup (85 g) shredded sharp cheddar and 2 tablespoons chopped chives into the flour after cutting in the butter.
- Herb: add 1-2 tablespoons chopped fresh rosemary or thyme to the dry ingredients.
- Honey butter: serve with equal parts softened butter and honey whipped together.
- Garlic butter: brush the hot biscuits with melted butter mixed with a small grated garlic clove and a pinch of parsley.
- Holiday breakfast: split and fill with scrambled eggs and sausage, or serve with gravy alongside Southern fried chicken.
Make-Ahead, Freezing and Storage
Biscuits are at their best within an hour of baking, but the dough handles advance prep well. That makes them easy to plan for a busy holiday morning.
- Overnight: cover the cut, unbaked biscuits and refrigerate up to 24 hours. Bake straight from the fridge.
- Freeze unbaked: freeze the cut biscuits on a sheet until solid, then bag them for up to 2 months. Bake from frozen at 450°F, adding 3-5 minutes.
- Baked leftovers: keep in an airtight container at room temperature for up to 2 days. Rewarm at 350°F for 5-7 minutes.
Tools That Help
You can make these with a fork and a drinking glass, but a bladed pastry blender, a sharp cutter and a heavy sheet pan make the cold-butter method faster and more reliable. Like any baking sheet, a dark or thin pan can brown bottoms too fast, so a heavier, light-colored pan lined with parchment is the safer bet (see our silicone mat vs. parchment comparison).
Product picks are research-based: manufacturer specs, verified buyer feedback and independent reviews such as the Good Housekeeping Institute’s pastry blender test and NBC News Select’s sheet pan roundup. We haven’t tested these specific models ourselves. Last verified: October 9, 2026. How we work.
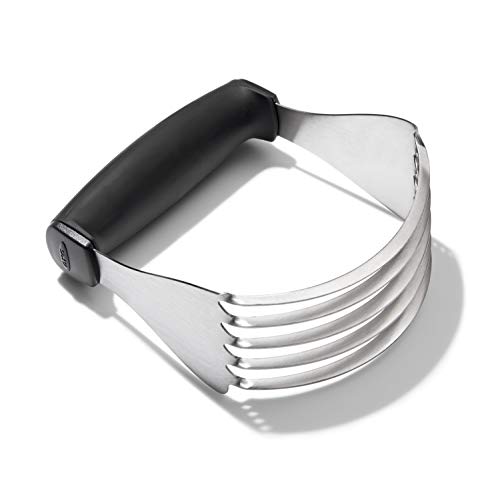
- OXO Good Grips Dough Blender with Blades — stiff stainless steel blades and a wide, cushioned handle that cut cold butter in quickly; dishwasher safe, around $17.
- RSVP International Endurance Round Biscuit Cutters, Set of 4 — nesting stainless steel rounds with sharp edges that cut straight through without sealing the layers, around $20.
- USA Pan Nonstick Half Sheet Pan — heavy-gauge aluminized steel with a corrugated surface for even browning, around $23.


As an Amazon Associate, we earn from qualifying purchases. Prices are approximate and may change — please verify on Amazon before buying.
Frequently Asked Questions
Can I use regular milk instead of buttermilk?
Yes. Stir 2¼ teaspoons of lemon juice or white vinegar into ¾ cup of milk and let it sit for 5-10 minutes. Real buttermilk is thicker and tangier, so the biscuits will be a touch less tender, but they still rise well.
Can I use a food processor or grated frozen butter?
Both work. Pulse the butter into the dry ingredients 6-8 times, just until pea-sized pieces remain, then stir in the buttermilk by hand. Grated frozen butter is a good option on a warm day; toss it through the flour quickly and keep folding to build layers.
What is the difference between a biscuit and a scone?
An American biscuit is a quick bread made with buttermilk or milk, usually with little or no sugar and no egg. Scones usually add egg and more sugar, which gives a richer, more cake-like crumb.
The Takeaway
Tall, flaky buttermilk biscuits come from three habits: keep the butter cold, fold instead of knead, and cut straight down. Get those right and the hot oven does the rest. If you like solving baking problems this way, our guide to why cookies come out flat uses the same cause-and-fix approach, and you’ll find more in our Baking Basics collection.
Get Our Free Dessert Recipe eBook
Join the Kitchen Unveiled newsletter and get our free dessert recipe eBook when you sign up. Subscribe now and get your free eBook →
You might also like: Gluten-Free Banana Bread and Homemade Brownies.