Molten lava cakes live or die by about 60 seconds of oven time: pull them a minute early and they collapse on the plate, leave them a minute too long and you get a nice little chocolate cake with no lava at all. This recipe gives you exact bake times for 6-ounce ramekins, 8-ounce ramekins and a muffin tin, plus the visual cues that tell you the edges are set while the center is still flowing. Four rich cakes, one bowl, about 30 minutes start to finish, which makes them an easy holiday or date-night dessert.
- Recipe
- Why This Works
- How Long to Bake Molten Lava Cakes (by Ramekin Size)
- Mistakes That Kill the Molten Center
- Tips for a Gooey Center Every Time
- Substitutions That Work (and One That Doesn't)
- Serving Ideas and Variations
- A Short History of the Lava Cake
- Our Top Picks for This Recipe
- Frequently Asked Questions
- The Bottom Line
At a Glance
- Time: 15 min prep, 13-14 min bake, 1 min rest (about 30 min total)
- Makes: 4 cakes in 6-ounce ramekins (or 6 in a standard muffin tin)
- Difficulty: Easy, as long as you watch the clock
- The one thing that makes it work: a hot 425°F (220°C) oven and pulling the cakes when the sides are firm but the tops still look soft
Recipe
Prep: 15 minutes · Bake: 13-14 minutes · Rest: 1 minute · Total: about 30 minutes · Serves: 4 (one cake each)
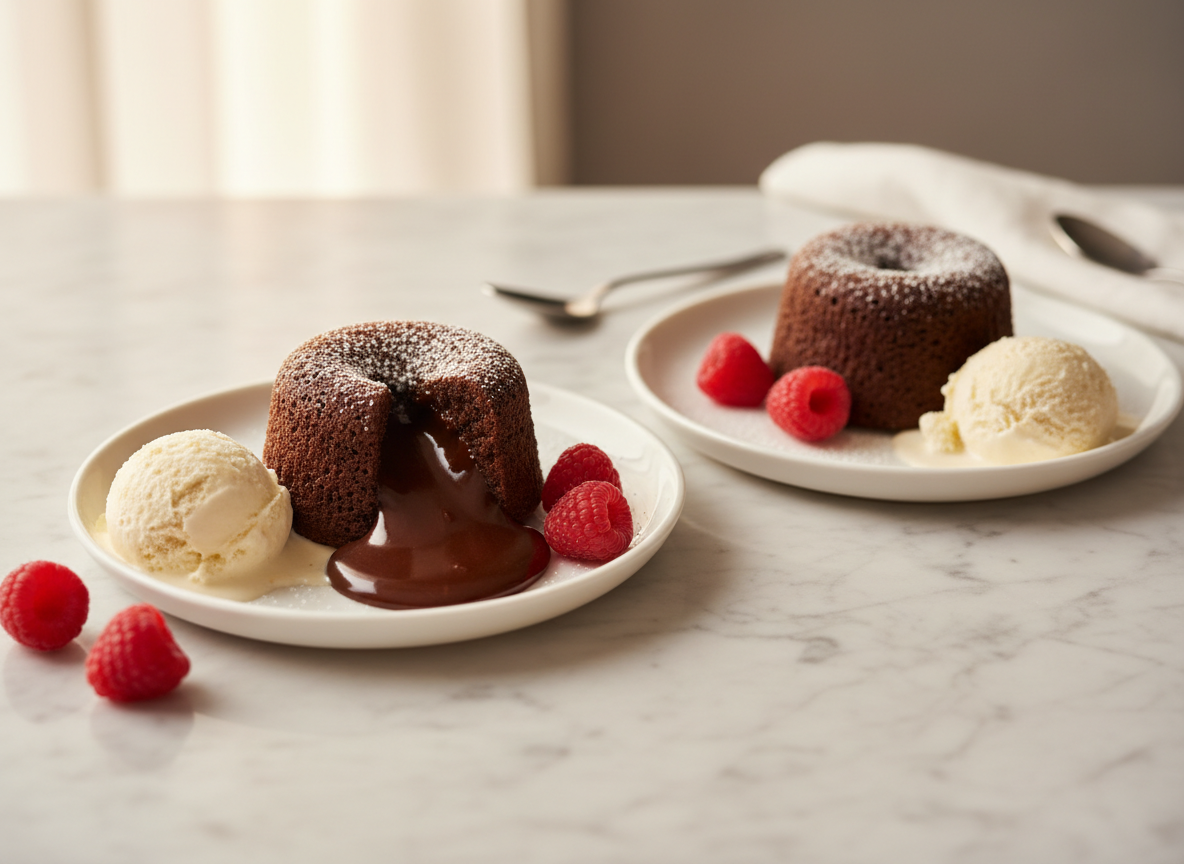
Molten Lava Cakes
Ingredients
Method
- Heat the oven. Set a rack in the middle of the oven and heat it to 425°F (220°C). Give it a full 15-20 minutes so the oven is truly at temperature, not just beeping.
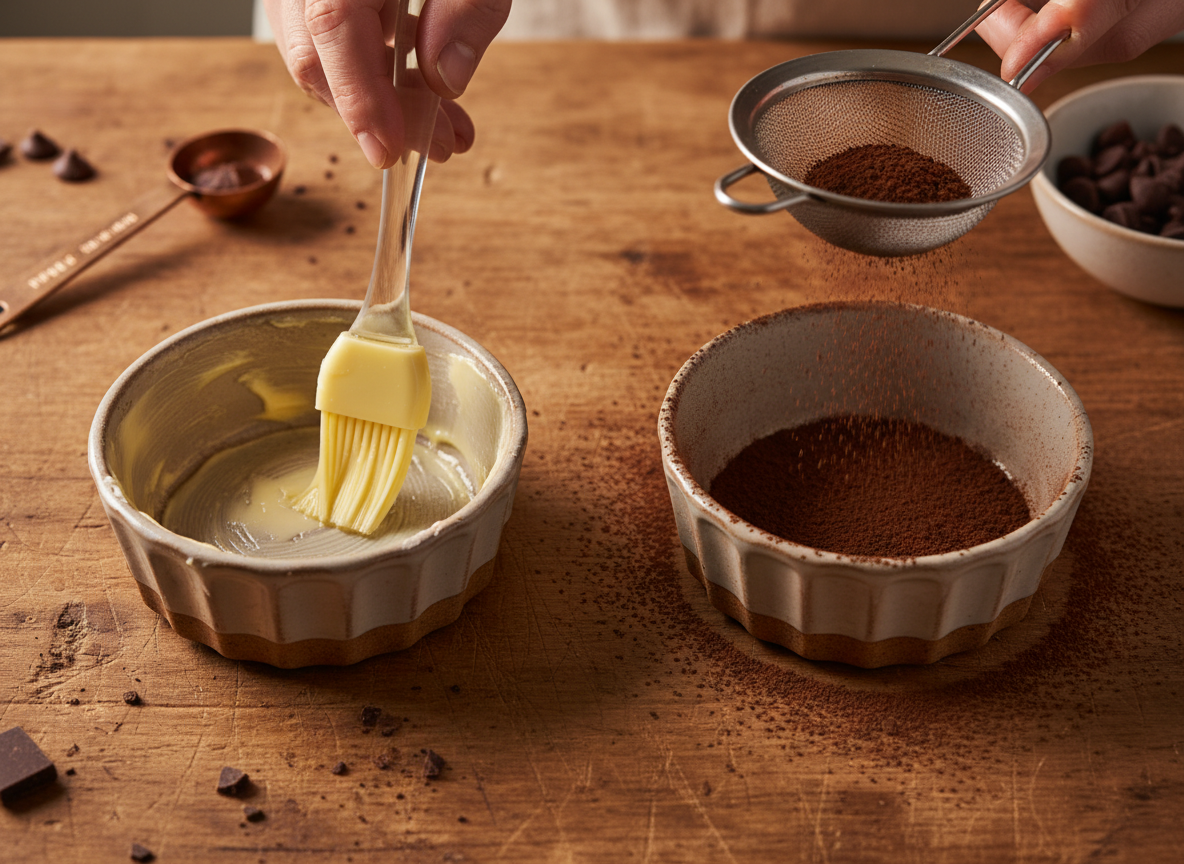
- Prep the ramekins. Brush four 6-ounce ramekins generously with the softened butter, covering the bottom and every bit of the sides. Add the cocoa powder, tilt and tap to coat, then knock out the excess. Set the ramekins on a small rimmed baking sheet.
- Melt the chocolate and butter. Put the chopped chocolate and butter in a large microwave-safe bowl and microwave on high for 1 minute, until the butter is melted. Whisk until the chocolate is completely smooth and glossy (microwave 10-15 seconds more if a few lumps remain).
- Add the sugar. Whisk in the powdered sugar until no dry streaks remain. The mixture will look thick and a little grainy.
- Add the eggs. Whisk in the eggs, egg yolks, vanilla and salt until the batter turns smooth and shiny, about 30 seconds.
- Fold in the flour. Stir in the flour with a spatula just until you can’t see any white. Don’t beat it: the batter should be thick, glossy and fall from the spatula in a slow ribbon.
- Fill. Divide the batter evenly among the ramekins, filling each about three-quarters full.
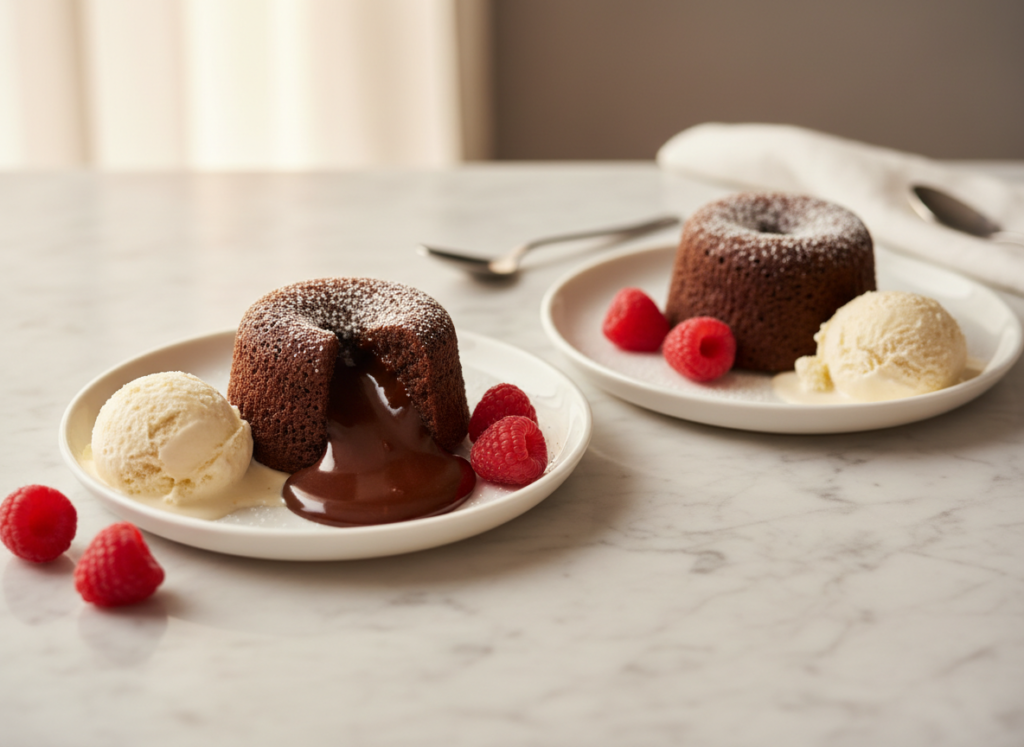
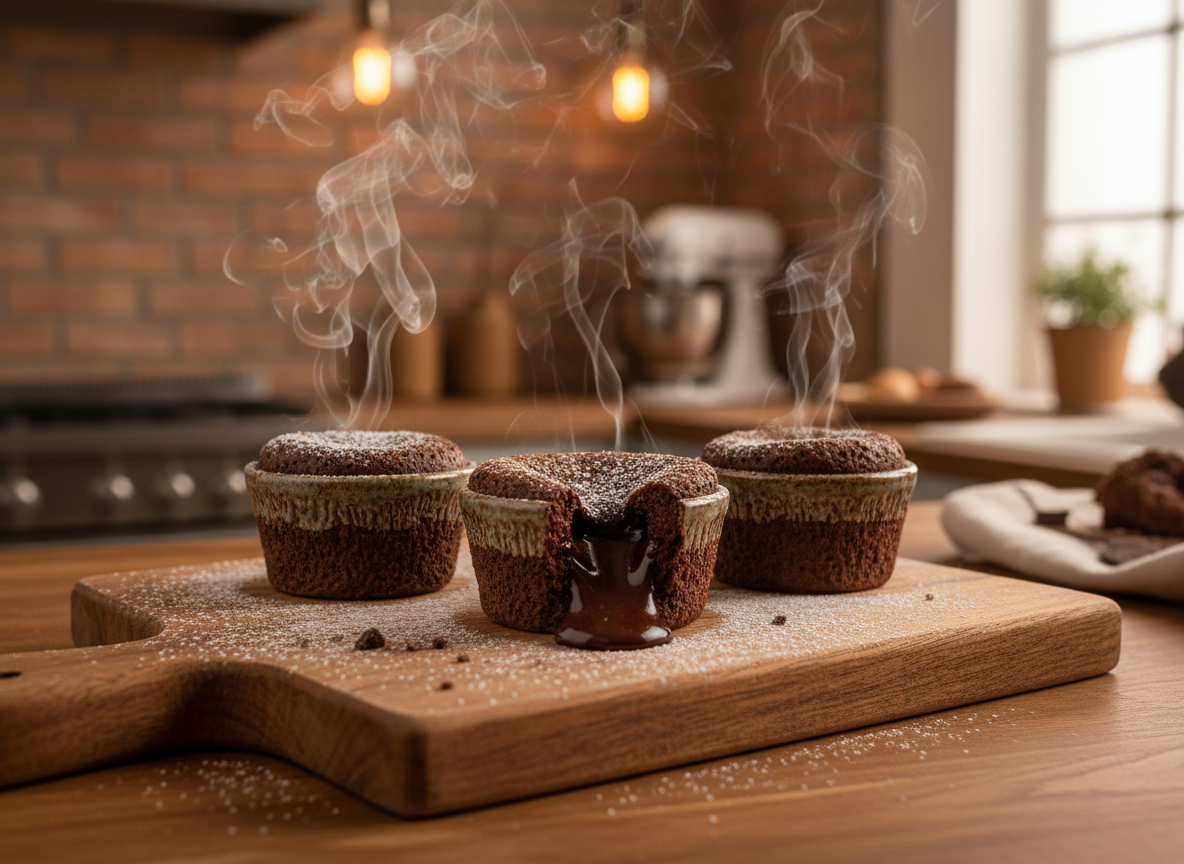
- Bake 13-14 minutes. Start checking at 13 minutes. The cakes are ready when the sides look firm and pull slightly away from the ramekin, the top has risen and looks set around the edge, and a soft, slightly darker circle about the size of a quarter still wobbles in the center when you nudge the pan.
- Rest 1 minute, then unmold. Let the cakes stand for exactly 1 minute. Run a thin knife around the edge of each ramekin, place a dessert plate upside down on top, and flip with oven mitts. Lift the ramekin straight up.
- Serve right away. Dust with powdered sugar and serve within a few minutes; the center keeps cooking from residual heat.
✓ Kitchen-tested · Nicole cooked this recipe in our kitchen on October 4, 2026. What this means
Why This Works
- High heat, short bake. At 425°F the outside of the batter sets quickly into a thin cake wall while the middle barely has time to heat through. A cooler oven cooks the cake more evenly, which is exactly what you don’t want here.
- Extra yolks, little flour. Two whole eggs plus two yolks and only 6 tablespoons of flour give a batter that is closer to a baked custard than a cake batter. The yolks keep the center silky instead of spongy.
- Powdered sugar. It dissolves instantly into the warm chocolate, so you don’t need a mixer to beat the eggs and sugar into a foam. One bowl and a whisk are enough.
- The 1-minute rest. Just long enough for the walls to firm up so the cake holds its shape when you flip it, and short enough that the center stays liquid.
How Long to Bake Molten Lava Cakes (by Ramekin Size)
The right bake time depends on how deep the batter sits, so the vessel matters more than the recipe. All the times below are for this exact batter at 425°F (220°C), set on a baking sheet on the middle rack.
| Vessel | Yield | Bake time |
|---|---|---|
| 6-oz ramekins (standard) | 4 cakes | 13-14 min; check at 13 |
| 8-oz ramekins | 4 cakes | 14-16 min; check at 14 |
| Standard 12-cup muffin tin (use 6 cups) | 6 small cakes | 8-10 min; check at 8 |
| Batter chilled in ramekins | 4 cakes | Rest 30 min on the counter first, or add 1-2 min |
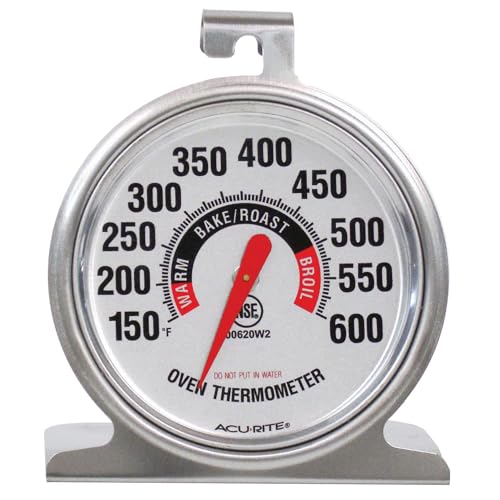
Whatever the vessel, trust the cues over the clock: firm sides, a set rim on top, and a soft wobbly center. Ovens often run 10-25°F off their dial, which is enough to swing a lava cake from soup to sponge. If your timings never seem to match recipes, a cheap leave-in oven thermometer will tell you what your oven is really doing.
Mistakes That Kill the Molten Center
- Baking “just one more minute.” The center looks underdone when it’s right. If the whole top is firm and domed, the lava is already gone.
- Using chocolate chips. Chips contain stabilizers that help them hold their shape, so they melt thicker and less glossy. Use a chopped baking bar.
- Skipping spots when greasing. Any bare patch of ramekin will glue the cake in place and tear it when you flip. Butter every corner, then dust.
- Letting the cakes sit too long. More than 2 minutes in the hot ramekins and the residual heat finishes cooking the middle. Have your plates ready before the timer goes off.
- Unmolding too soon. Flip them straight out of the oven and the walls are too soft to stand, so the cake slumps into a puddle. That 1-minute rest matters.
If the center looks a little underdone when you pull the pan, you timed it right.
Tips for a Gooey Center Every Time
- Bake a test cake. Cooking for guests? Make the batter, bake one cake the day before and note the exact minute that works in your oven.
- Use a baking sheet. It makes the hot ramekins easy to move and catches any drips. A small quarter sheet pan fits four ramekins neatly.
- Cocoa, not flour, for dusting. Flour leaves a pale film on a dark cake; cocoa disappears into it.
- Room-temperature eggs. Cold eggs can seize the warm chocolate into a stiff, dull batter. Set them in warm tap water for 5 minutes if you forgot to take them out.
Substitutions That Work (and One That Doesn’t)
| Swap | Result |
|---|---|
| Bittersweet (70%) for semisweet chocolate | Works. Darker, less sweet center. |
| Salted butter for unsalted | Works. Skip the pinch of salt. |
| Granulated sugar for powdered | Use 1/2 cup (100 g) and whisk well; the texture is slightly less silky. |
| 1:1 gluten-free flour blend for all-purpose | Works well, since there is so little flour in the batter. |
| Milk chocolate for dark | Not recommended. It is too soft and sweet, and the cakes struggle to hold their shape. |
Serving Ideas and Variations
A cold scoop of vanilla ice cream against the warm chocolate is the classic pairing. Fresh raspberries or a spoonful of lightly sweetened whipped cream cut the richness; for a holiday table, add a few sugared cranberries or a drizzle of warm caramel.
- Peanut butter center: drop 1 teaspoon of creamy peanut butter into the middle of each filled ramekin.
- Salted caramel center: press one soft caramel candy into the batter and sprinkle the unmolded cake with flaky salt.
- Mocha: whisk 1 teaspoon of instant espresso powder into the melted chocolate.
- Spiced: add 1/4 teaspoon cinnamon and a small pinch of cayenne with the flour.
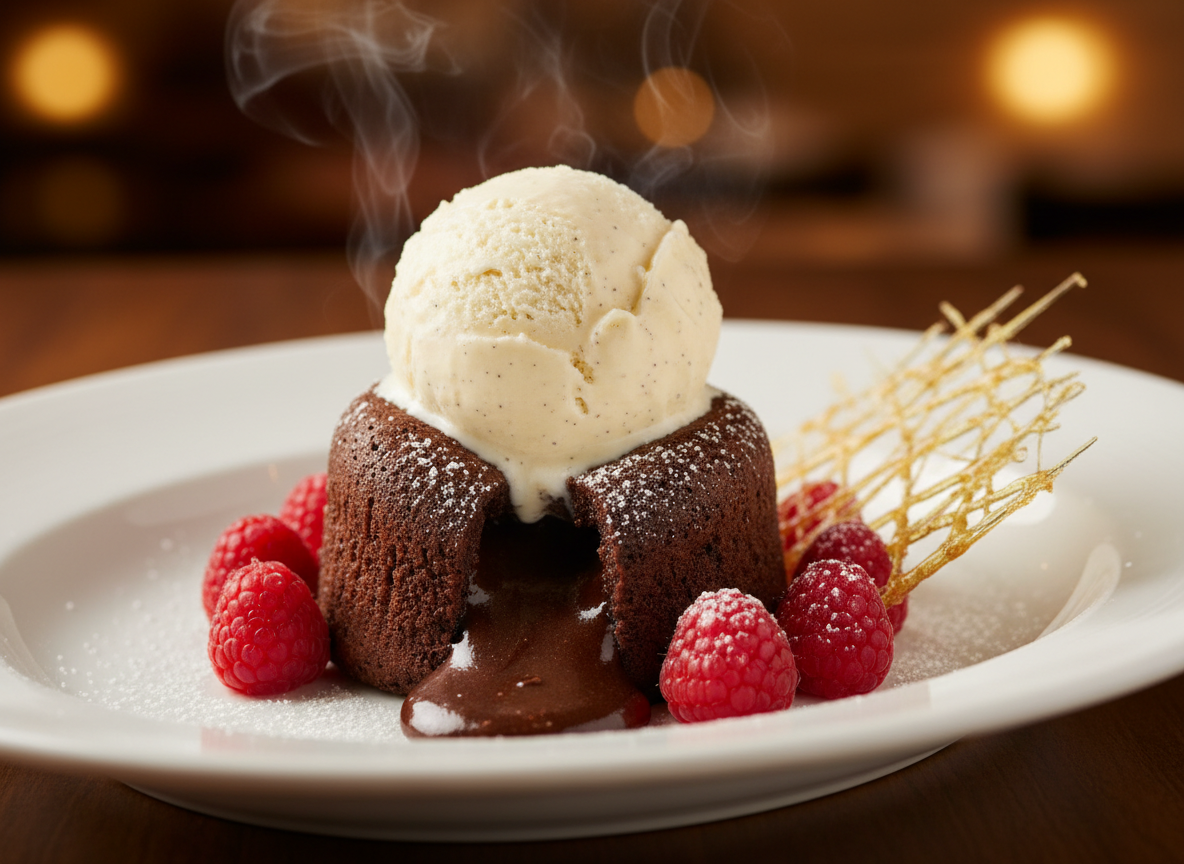
A Short History of the Lava Cake
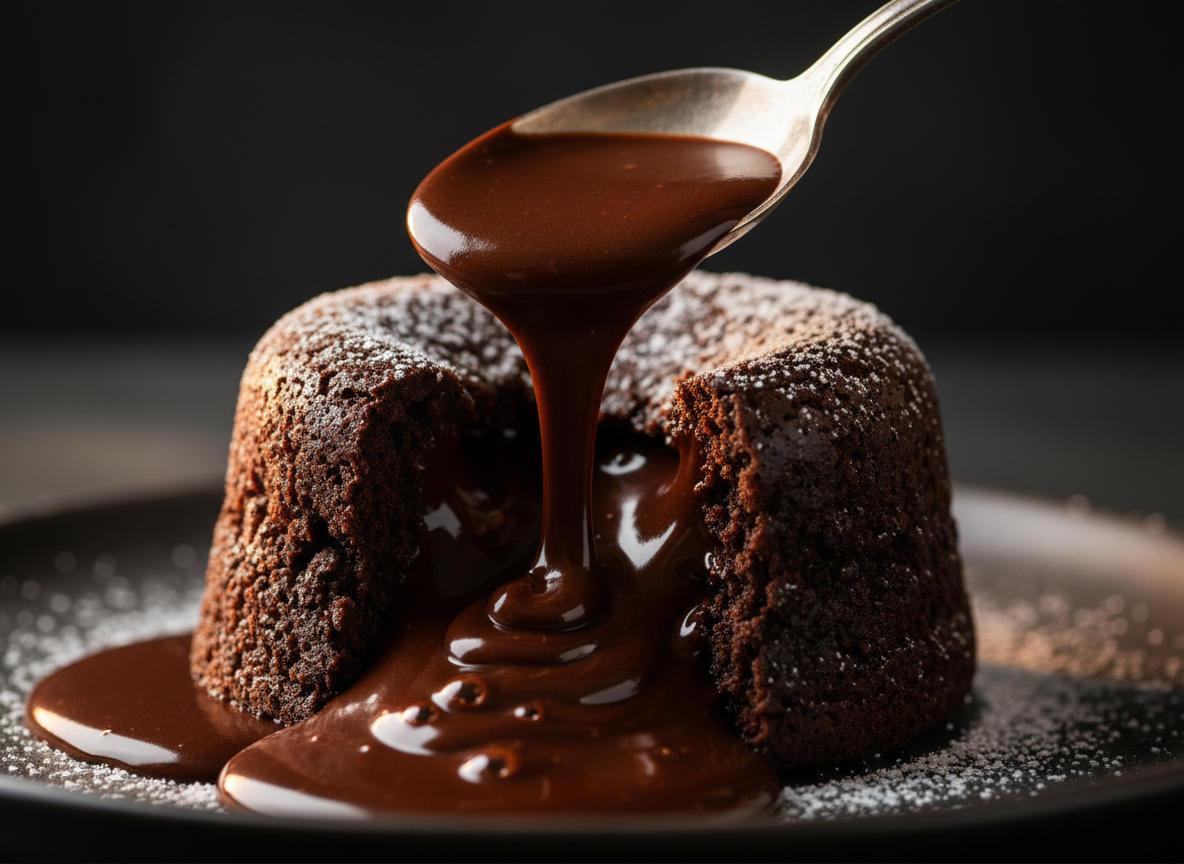
The molten chocolate cake took off in New York restaurants in the late 1980s. Chef Jean-Georges Vongerichten is usually credited with popularizing it after pulling a batch of chocolate sponge cakes from the oven too early, though pastry chef Jacques Torres has said a similar dessert already existed in France, and chef Michel Bras says he created his molten-centered chocolate “coulant” in 1981.
By the 1990s it was on dessert menus everywhere, from fine dining to chain restaurants. The good news for home bakers: it needs no special skill, just a hot oven and a timer.
Our Top Picks for This Recipe
- LE TAUCI Ceramic Ramekins, 6 oz, Set of 4 — the exact size the bake times above are built on, oven-safe porcelain, around $23.
- AcuRite 00620A2 Stainless Steel Oven Thermometer — a leave-in dial thermometer that shows whether your oven really reaches 425°F, around $7.
- Nordic Ware Naturals Quarter Sheet with Lid — a sturdy aluminum quarter sheet that holds four ramekins, around $15.
Product picks are research-based: manufacturer specs, verified buyer feedback and independent reviews such as Your Best Digs’ oven thermometer tests. We haven’t tested these specific models ourselves. Last verified: October 9, 2026. How we work.


As an Amazon Associate, we earn from qualifying purchases. Prices are approximate and may change — please verify on Amazon before buying.
Frequently Asked Questions
Can I make the batter ahead of time?
Yes. Fill the prepared ramekins, cover them and refrigerate for up to 24 hours. Let them sit on the counter for about 30 minutes before baking, or bake straight from the fridge and add 1-2 minutes, watching for the same firm-sides, soft-center cues.
Why did my lava cake turn into a regular cake?
It was overbaked, either by time or because the oven runs hot. A molten chocolate cake is essentially an underbaked cake on purpose, so even one extra minute can set the center. Pull the next batch a minute earlier and check your oven temperature.
Can I freeze or reheat lava cakes?
Baked cakes can be cooled completely, wrapped and frozen for up to 3 months. Reheat them in the microwave in short bursts rather than in the oven, which tends to dry them out. Expect a warm, fudgy middle rather than a fully flowing one.
The Bottom Line
Molten lava cakes are less about technique than about timing: a properly hot oven, 13-14 minutes for 6-ounce ramekins, and the nerve to pull them while the center still wobbles. Get that right once and you have a restaurant-style dessert you can make on a weeknight. For more chocolate and baking projects, browse our Baking Basics collection.
Get Our Free Dessert Recipe eBook
Join the Kitchen Unveiled newsletter and get our free dessert recipe eBook when you sign up. Subscribe now and get your free eBook →
You might also like: Homemade Brownies, Baked Feta Cheesecake and Why Are My Cookies Flat?