
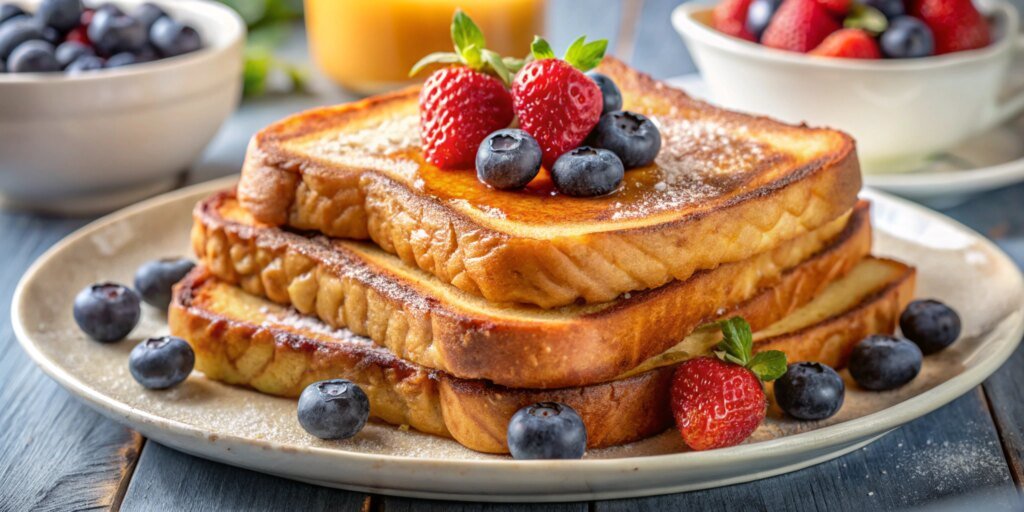
There’s something undeniably comforting about the aroma of crispy French toast wafting through your kitchen on a lazy weekend morning. This beloved breakfast staple, with its custardy center and perfectly caramelized edges, strikes the perfect balance between simplicity and sophistication. Let’s explore how to make the best crispy French toast recipe, with a special focus on achieving those deliciously caramelized edges that elevate this dish from good to unforgettable.
Recipe
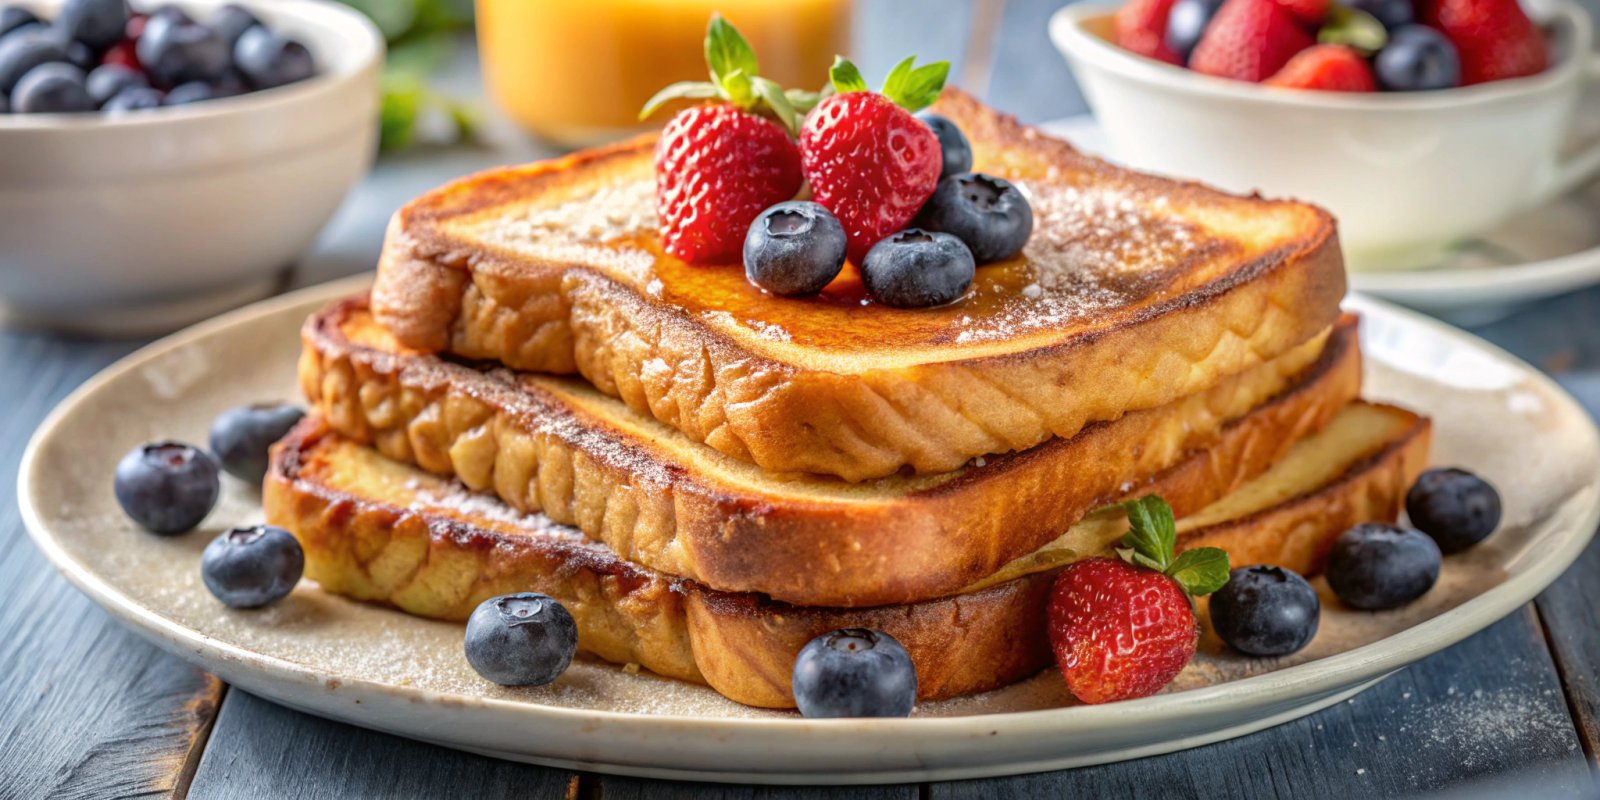
Classic French Toast with a Crispy Edge
Ingredients
Method
- In a shallow dish, whisk together eggs, milk, cream, sugar, vanilla, cinnamon, nutmeg (if using), and salt until well combined.
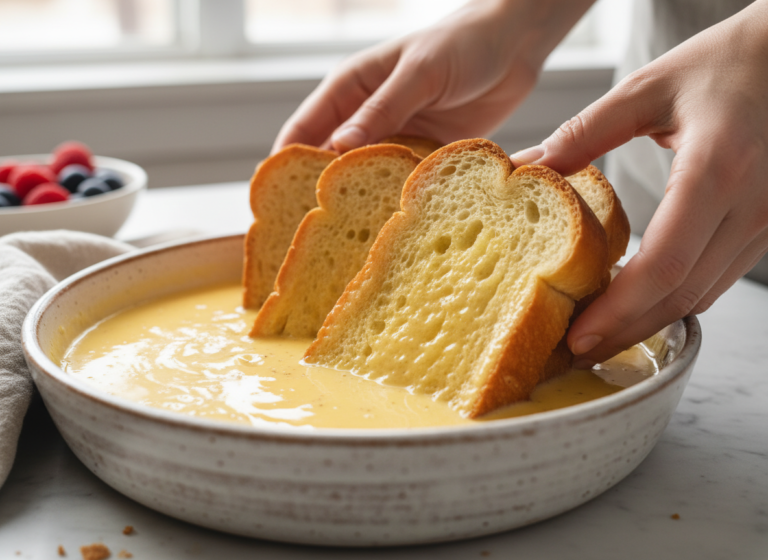
- Place bread slices in the custard mixture, soaking each side for 20-30 seconds (not too long or they’ll become soggy).
- Heat a large skillet or griddle over medium heat. Add 1 tablespoon butter and 1/2 tablespoon oil, swirling to coat the cooking surface.
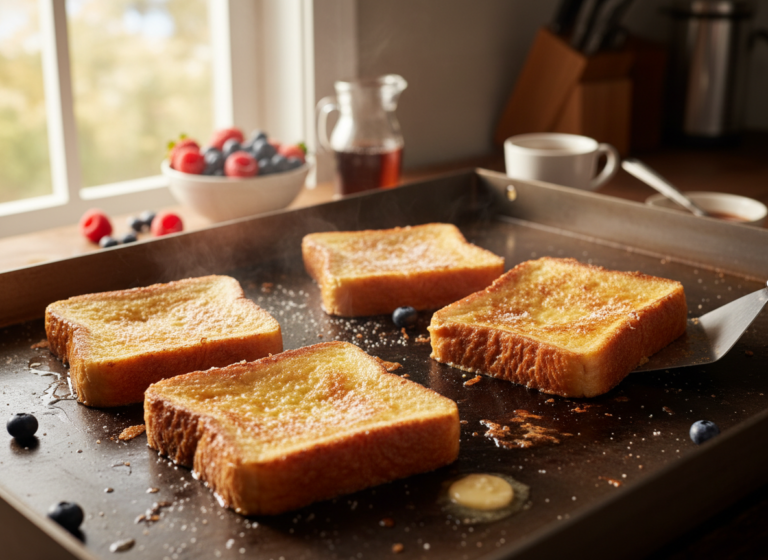
- Cook the soaked bread for 3-4 minutes on the first side until golden brown and crisp at the edges.
- Flip and cook for another 2-3 minutes until the second side is equally golden and crisp.
- Refresh the butter and oil mixture between batches.
- If making multiple batches, keep finished slices warm in a 200°F oven on a wire rack set over a baking sheet (this maintains crispness).
Notes
The History Behind French Toast
Despite its name, French toast didn’t actually originate in France. Dating back to the Roman Empire, early versions were called “pan dulcis” and were simply stale bread soaked in milk and fried. The French name “pain perdu” (lost bread) reflects its humble origins as a way to salvage stale bread that would otherwise be wasted. Today, it has evolved into a beloved breakfast dish enjoyed around the world, with countless variations.
The line between ordinary French toast and crispy French toast comes down to two things: slightly stale bread, and the patience to let each side truly caramelize before you flip.
Selecting the Perfect Bread
The foundation of exceptional crispy French toast begins with the bread selection. Not all breads are created equal when it comes to this classic dish:
- Brioche – Rich, buttery, and slightly sweet, this is often considered the gold standard for French toast
- Challah – With its eggy texture and braided structure, it absorbs custard beautifully
- Sourdough – Offers a tangy contrast to the sweet custard
- French baguette – When sliced appropriately, provides excellent texture contrast
- Texas toast – Thick-cut white bread that’s widely available and performs well
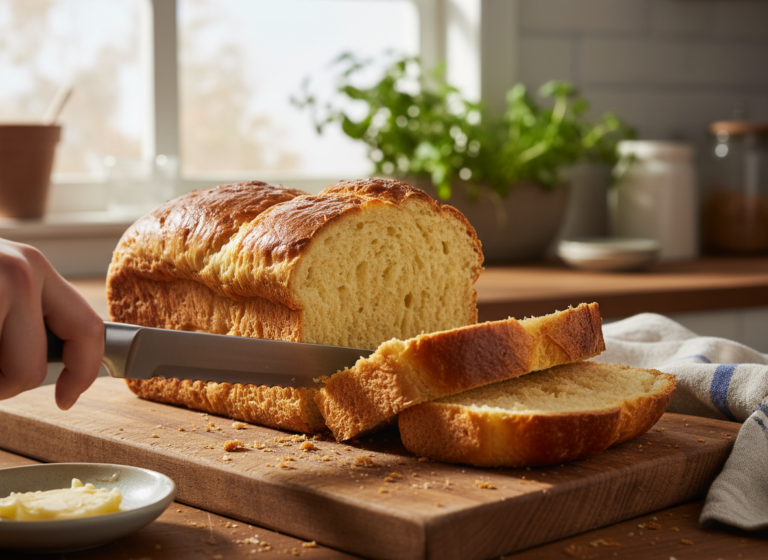
For the crispiest edges, slightly stale bread (1-2 days old) works best as it absorbs the custard without becoming soggy. Cut your slices approximately 3/4 to 1 inch thick — a good serrated bread knife makes clean, even slices that cook consistently — for the optimal balance of custardy interior and crispy exterior.
The Perfect French Toast Custard
The custard mixture is where you can infuse flavor into your French toast. A classic custard includes:
- Eggs – Providing structure and richness
- Milk or cream – Creating moisture and tenderness
- Vanilla extract – Adding aromatic warmth
- Cinnamon – Offering warm spice notes
- A pinch of salt – Enhancing all other flavors
- Sugar – Just enough to promote caramelization for those crispy edges
The Secret to Crispy Edges
Achieving those coveted crispy edges requires attention to several key factors:
- Proper soaking time – 20-30 seconds per side for thick bread, allowing enough absorption without oversaturation
- Cooking fat selection – A combination of butter and neutral oil provides flavor while preventing burning
- Temperature control – Medium heat maintains the perfect balance for exterior caramelization while cooking the custard through — an electric griddle with a reliable thermostat takes the guesswork out of this
- Sugar in the custard – Promotes caramelization of the edges
- Patience – Resist the urge to flip too early; allow proper browning on each side
Serving Suggestions
Classic crispy French toast deserves thoughtful accompaniments that complement its crispy-edged perfection:
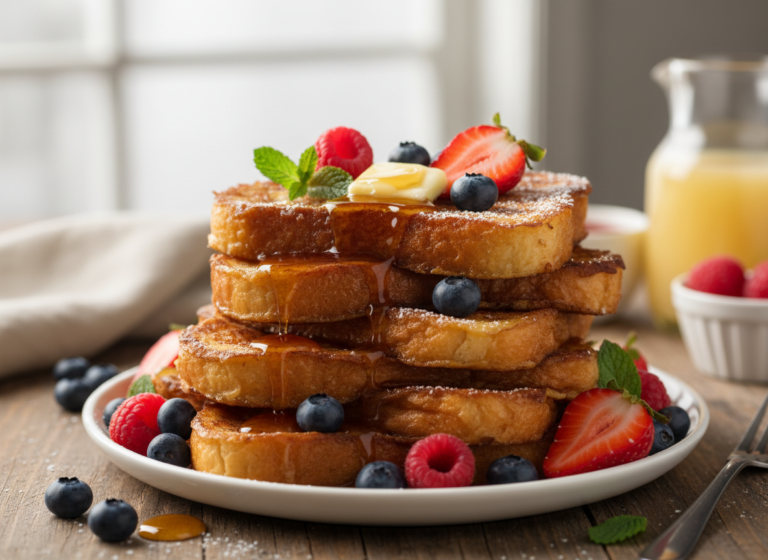
- Traditional: Maple syrup, butter, and a dusting of powdered sugar
- Fruity: Fresh berries, sliced bananas, or caramelized apples
- Decadent: Whipped cream, chocolate sauce, or Nutella
- Savory twist: Serve with crispy bacon or breakfast sausage for a sweet-savory contrast
Troubleshooting Common Issues
Even experienced cooks can encounter challenges when making crispy French toast. Here are solutions to common problems:
- Soggy centers: Use drier bread, adjust soaking time, or cook at a slightly lower temperature for longer
- Burnt exterior/raw interior: Lower heat and extend cooking time
- Not crispy enough: Ensure your pan is properly preheated and don’t overcrowd the pan
- Sticking to the pan: Use sufficient butter/oil and a well-seasoned or non-stick pan
Our Top Picks for This Recipe
These tools help you nail crispy French toast edges every time:
- Cuisinart Griddler Deluxe Electric Grill & Griddle — a large, evenly heated cooking surface with reliable temperature control for consistent caramelization.
- Victorinox Fibrox 10.25-Inch Bread Knife — slices thick brioche or challah cleanly without crushing the crumb.
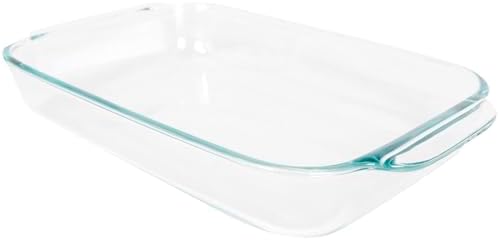
- Pyrex Basics 2-Quart Glass Baking Dish — the right shallow size for dipping bread slices evenly in custard.


As an Amazon Associate, we earn from qualifying purchases. Prices are approximate and may change — please verify on Amazon before buying.
Frequently Asked Questions
What’s the best bread for crispy French toast?
Brioche or challah give the crispiest edges because of their high egg and butter content, which caramelizes beautifully in the pan. Slightly stale, thick-cut slices (3/4 to 1 inch) hold up to soaking without turning mushy, a technique central to traditional French toast preparation.
Why isn’t my French toast getting crispy?
The most common culprits are a pan that isn’t hot enough before the bread goes in, overcrowding (which traps steam), or not enough sugar in the custard to promote caramelization. Preheat your griddle fully and cook in batches with space between each slice.
Can I make French toast ahead of time?
Yes — cooked French toast keeps in the refrigerator for up to 2 days or the freezer for up to 2 months. Reheat in a 375°F oven or toaster for a few minutes rather than the microwave, which softens the crispy edges instead of restoring them.
You Might Also Like
You might also like: Air Fryer Churros with Cinnamon Sugar and Pantry Staples for Delicious Meals.
With these techniques and tips, you’re well-equipped to create perfect Classic French Toast with irresistibly crispy edges that will elevate your breakfast or brunch to memorable heights. The contrast between the crisp, caramelized exterior and the tender, custardy interior makes this simple dish truly special – proving that sometimes, the most satisfying culinary experiences come from perfecting the classics.
Never Miss a Recipe
Love breakfast recipes like this one? Join our newsletter for new recipes, kitchen tips, and a free eBook straight to your inbox. Subscribe now and get your free eBook →